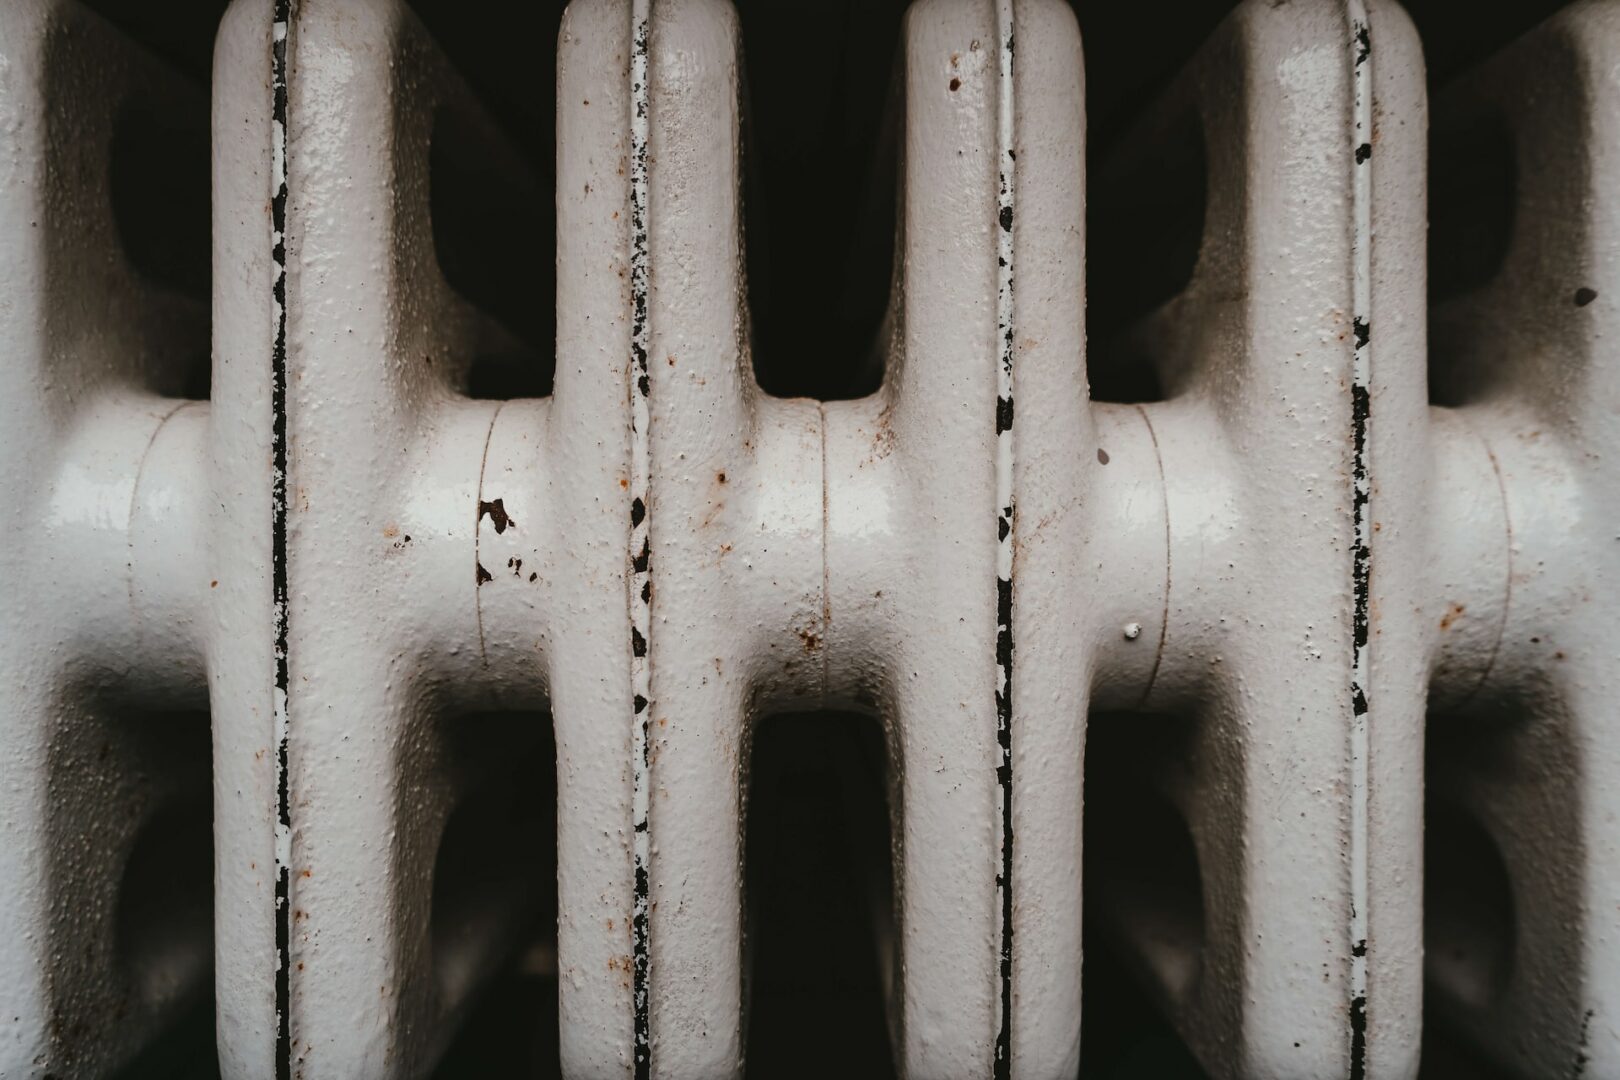
Revamp your radiator: top tips for repainting an old radiator
Vintage radiators can easily add a touch of nostalgia and a vintage feel to a room, but flaking
or chipped paint quickly turns it into a ‘cheap eyesore’. Luckily, repainting an old, rusty, or
chipped radiator needn’t be a headache, nor should it require you to find and schedule a
handyman to do it for you. With nothing but very basic tools and a few minutes of spare time,
you can restore a radiator to its former glory.
For the sake of this article, we will assume that your radiator has enough space between it
and the wall for you to reach and paint comfortably. If this is not the case, you might have to
close any valves leading to the radiator, remove it, repaint it, and then replace it, making it a
much bigger job.
Step 1: Gather everything you’ll need and prepare the area
This is step one of any successful DIY project; don’t let anyone tell you otherwise. There’s
nothing more frustrating than getting halfway through a DIY project and then realising you
forgot to get a critical piece of equipment.
To successfully repaint a chipped or flaky radiator, you’ll need the following tools and
materials. All these supplies are readily available at any half-decent hardware store.
● Putty knife
● Wire brush
● Sandpaper (medium grit)
● Cleaning supplies (water and a rag)
● Degreaser
● Rust-inhibiting primer (spray- or paint-on)
● Heat-resistant paint (in your desired colour)
● Paintbrushes
● Painter’s tape
● Drop cloth or old newspaper
In terms of preparing the area, it’s as simple as turning off the radiator and letting it cool
completely. Once it’s cool to the touch, lay some old newspaper under the radiator to help
the cleanup process after step 2.
Step 2: Remove old paint and prepare surface for painting
Next, we have to remove as much of the old flaky paint and any rust as possible. While it’s
not necessary to remove every single square inch of old paint, it’s important to create a
smooth surface without any bumps or protrusions that will create new eyesores down the
line.
Start by scraping off any large paint flakes with the putty knife, then use the wire brush to
remove any loose rust. Once you can’t get any more paint or rust off using the putty knife or
wire brush, give the entire radiator a thorough sanding with medium-grit sandpaper (100-150
grit). Be sure to go over areas where the old paint still looks good as well, as this will create
a better surface for the primer to stick to.
Once you’ve sanded down the radiator, it’s time to remove dust and grease. Wipe the
surface with a damp cloth, allow it to dry, and then degrease the surface with the degreaser.
This will ensure that the primer thoroughly adheres to the surface.
At this point, you’ll want to clean the entire area again to avoid kicking up dust that might
stick to the paint in step 3. If you laid down some newspaper in step 1, it’s a simple matter of
scrunching it up and throwing it out.
Step 3: Masking and painting
Mask off any areas you don’t want painted in the same colour as the radiator with
newspaper and/or painter’s tape. This includes the floor, wall, and valves. Take your time
doing this, as removing either wet or dry paint later on can be a real headache. If you’re
using spray-on primer, cover a wider area of floors and walls than you expect.
Apply your metal primer in a smooth, even layer, working from the top down. Make sure to
cover every square inch, as it will prevent rust from forming, as well as provide the optimal
surface for paint to stick to. Once you’re done, wipe off any excess primer and allow the area
to completely dry (check the manufacturer’s instructions) before applying the paint.
Paint the radiator with your choice of colour, once again starting from the top and working
your way down. Apply as many coats as needed until you achieve your desired look, but be
sure to allow the paint to dry completely between coats. It’s important to use heat-resistant
paint, most commonly enamel, to avoid having to repeat the job after a couple of months.
After you’re done painting, remove the masking before the paint is 100% dry. Don’t attempt
to remove the masking while the paint still smears; but waiting until it is 100% dry could
result in new flakes forming as the masking rips off the new paint.
When to leave it to the pros
While repainting a radiator isn’t all that hard, it does take quite some time, and there are
cases where it might be best to leave it to the pros. If your radiator sits very close to the wall
and you have to remove it to paint it, or if you can find the time to get to it yourself, it might
simply be easier to have someone take care of the entire job for you.
WeRestoreSurfaces has the know-how, tools, and experience to repaint and restore old,
flaky, rusty or otherwise damaged radiators back to their former glory in no time.
CONTACT US
For more information regarding our services, please do not hesitate to contact us by giving us a call for a free quote. Alternatively, fill out the enquiry form and we will get back to you as soon as possible.
CALL US
For a free quote, call us on