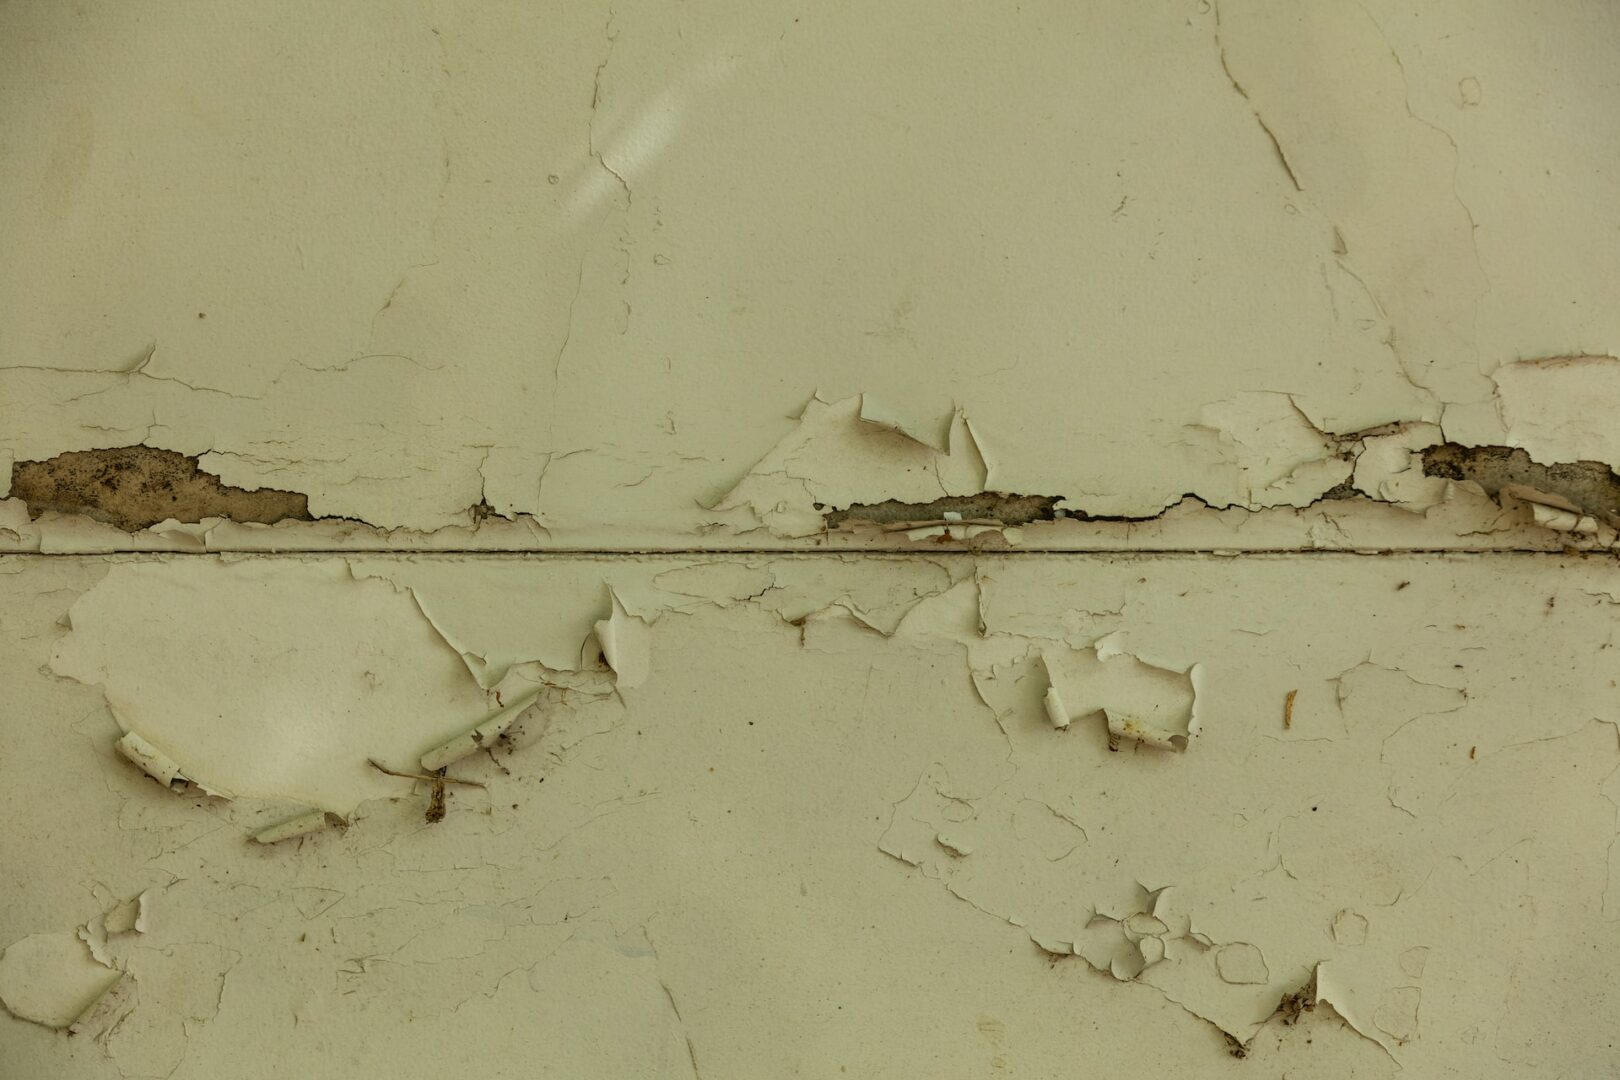
Restore Your Surfaces: Mastering the Art of Chipped Paint Repair
On a long enough timeline, especially when exposed to the elements, no paint is completely immune from cracking and eventually chipping, immediately detracting from the aesthetic appeal of your home or office. Much like the natural beauty of hardwood floors or the versatility of laminate flooring, a well-painted surface can significantly enhance the look and feel of a home. However, whether due to the careless moving of furniture or the effects of time, repairing chipped paint can quickly restore an eyesore wall to its former glory.
Luckily, repairing chipped pain on a small, isolated piece of wall isn’t as daunting as it seems. With just a few simple tools, a bit of know-how, and a couple of hours of free time, you can have your walls looking fresh and pretty again.
This guide will walk you through the steps of effectively repairing a chipped wall, ensuring a seamless and professional-looking finish. From selecting the right paint and tools to the final touches that make the repair invisible, we’ve got you covered. Note that this article will focus on repairing localised chips. We will cover completely stripping and repainting a wall in a different article.
Step 1: Evaluate the area to be painted and prepare supplies and tools.
When your walls are chipping, more likely than not, they’re chipping in more than one location. Repairing them all in one go can save you time and effort down the line, so get it all at once.
Start by checking your entire home and noting all the areas that need repairs. At the same time, try to determine what type of paint was used previously. Although this might be impossible if that information isn’t accessible to you, in this case, you can break off a piece of paint chip to take with you to the DIY store. An assistant might be able to help you match the paint type for a more consistent and even finish.
Once you’ve located all the areas that need painting, you’ll have to gather the following supplies:
- Sandpaper (medium-fine grit, about 220)
- Spackling paste or putty (optional)
- Putty knife (optional)
- Primer (optional, but recommended)
- Paint
- Matching the existing colour and finish, e.g., matte, eggshell, satin, semi-gloss, or gloss
- 1 litre of paint typically covers 10m2
- Paintbrushes or rollers
- Painter’s tape
- Drop cloths or old newspaper
Step 2: Prepare the area for painting
Repairing chipped paint involves more than just simply painting over the existing chips. This will most likely end up being very visible, and it won’t take long for new chips to appear.
Before painting, the entire area (chipped area and surrounding 3cm) first has to be sanded down using sandpaper. This removes any new chips that might not have fully formed but are on their way, smooths out the edges of the chips for a smoother coat of pain, and creates a more favourable surface for the primer to stick to. After sanding down the area, wipe it with a damp cloth to remove any dust and allow it to fully dry.
Next, you’ll have to determine whether or not to fill up the area under the chips with spackling paste or putty. This will depend on the condition of the wall, but typically, if the chip is more than a single layer of paint deep compared to the rest of the paint on the wall, it’s better to fill up the material before painting.
To refill the missing material, apply the putty using the putty knife. Smooth the putty out until the chip holes are flush with the rest of the surface. Wipe away the excess putty and allow it to dry. Once dry, give the putty a quick sanding to blend the edges with the chip edges and ensure that the edges are flush. Wipe away any dust and allow to dry.
Step 3: Apply the primer and paint
Start by removing any furniture or rugs that you don’t want paint splashes on. Next, use old rags, newspaper, or painter’s tape to cover the siding.
Apply a thin layer of primer over the now-smoothed-out chipped areas. While this is optional, the primer will help you create a better final look and help the paint dry and set correctly, increasing its life expectancy. Using a primer becomes even more important when using a glossy finish or if your spackling putty is a different colour than the paint. Allow primer to dry.
Shake your paint well before opening, then apply the paint in thin, even layers using a brush or roller. If using a brush, use long, even strokes to avoid brush marks. Feather the edges of the paint to help create a seamless look. Remember that the paint will become slightly lighter when dry. Only add one layer at a time, then allow it to dry. Evaluate the outcome and apply another layer if necessary to match the original hue.
If you have any inconsistencies in the finish, you can lightly sand that area, clear the dust, and apply another layer of paint.
When to leave it to the professionals
While taking care of small, isolated pockets of chipped paint can be achieved fairly easily, this story changes dramatically when there are whole or multiple walls that need repainting. In addition to getting the cleanest and most professional-looking final result, the paint and surface experts at WeRestoreSurfaces can help you determine what’s causing your paint to chip, make suggestions for the best type of paint for your walls, and provide simple and practical steps to help you keep your walls looking great for years.
CONTACT US
For more information regarding our services, please do not hesitate to contact us by giving us a call for a free quote. Alternatively, fill out the enquiry form and we will get back to you as soon as possible.
CALL US
For a free quote, call us on